Insert the Form into the Thank you Page
This page explains how to insert AL CustomerMetaSync forms into the Thank you Page.
Step 1: Customize the Thank you Page
From your Shopify admin, go to
Settings > Checkout > Customize
or
Online Store > Themes > Customize > Checkout and Customer accounts
to open the theme customization screen.
In the app blocks list, click the + button next to Customer Metafield Collector, and choose Thank you as the insertion point.
Copy the Block ID of the form you want to insert from the app admin, then paste it into the app block settings field and save.
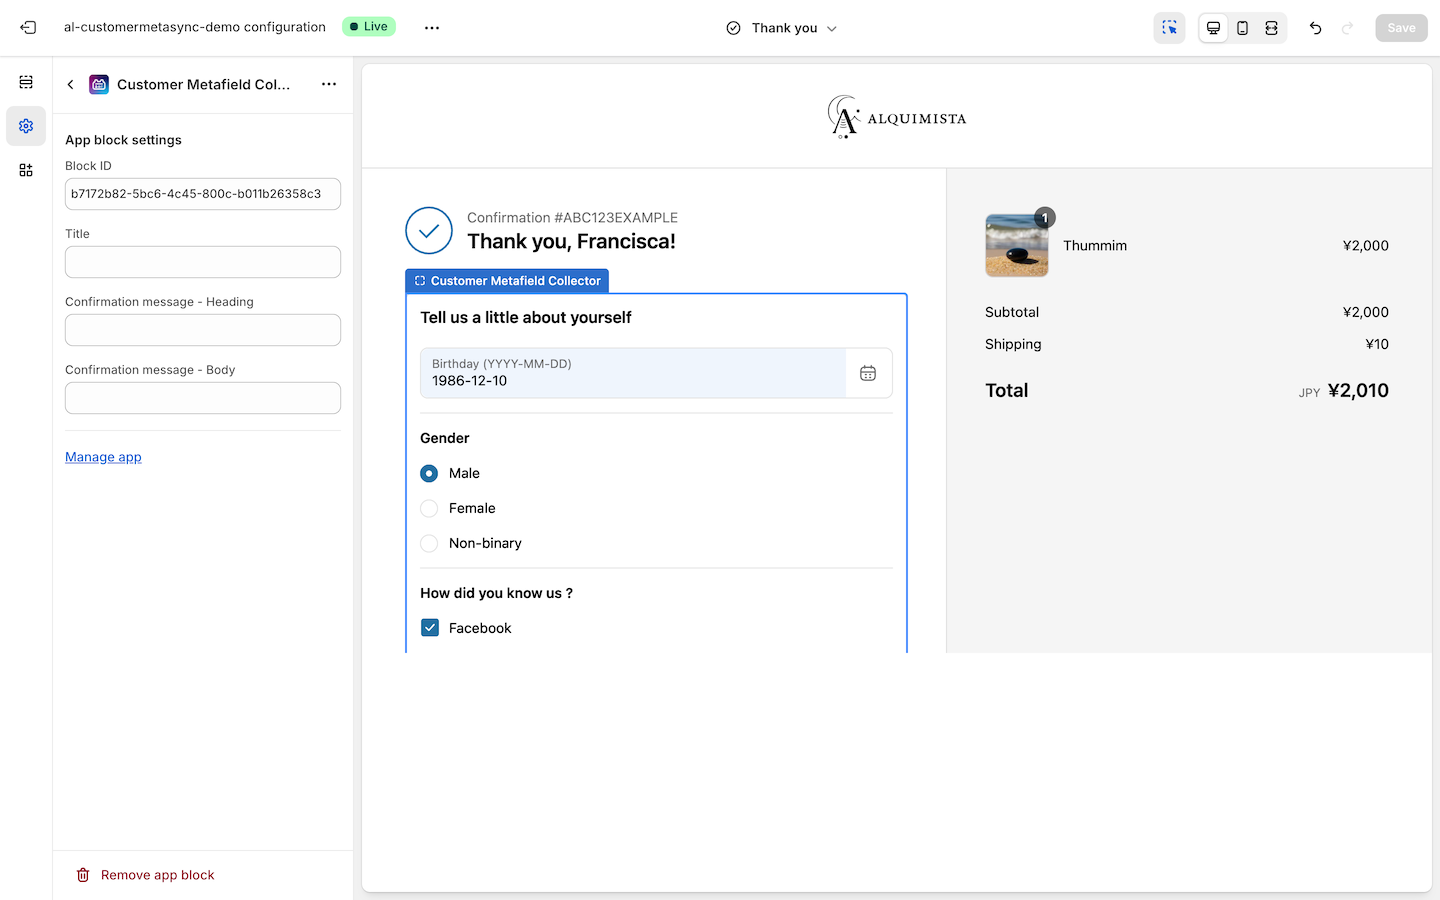
You can customize the title, description, and other text as needed.
Note: The customization screen uses dummy data, and forms cannot actually be submitted from this view.
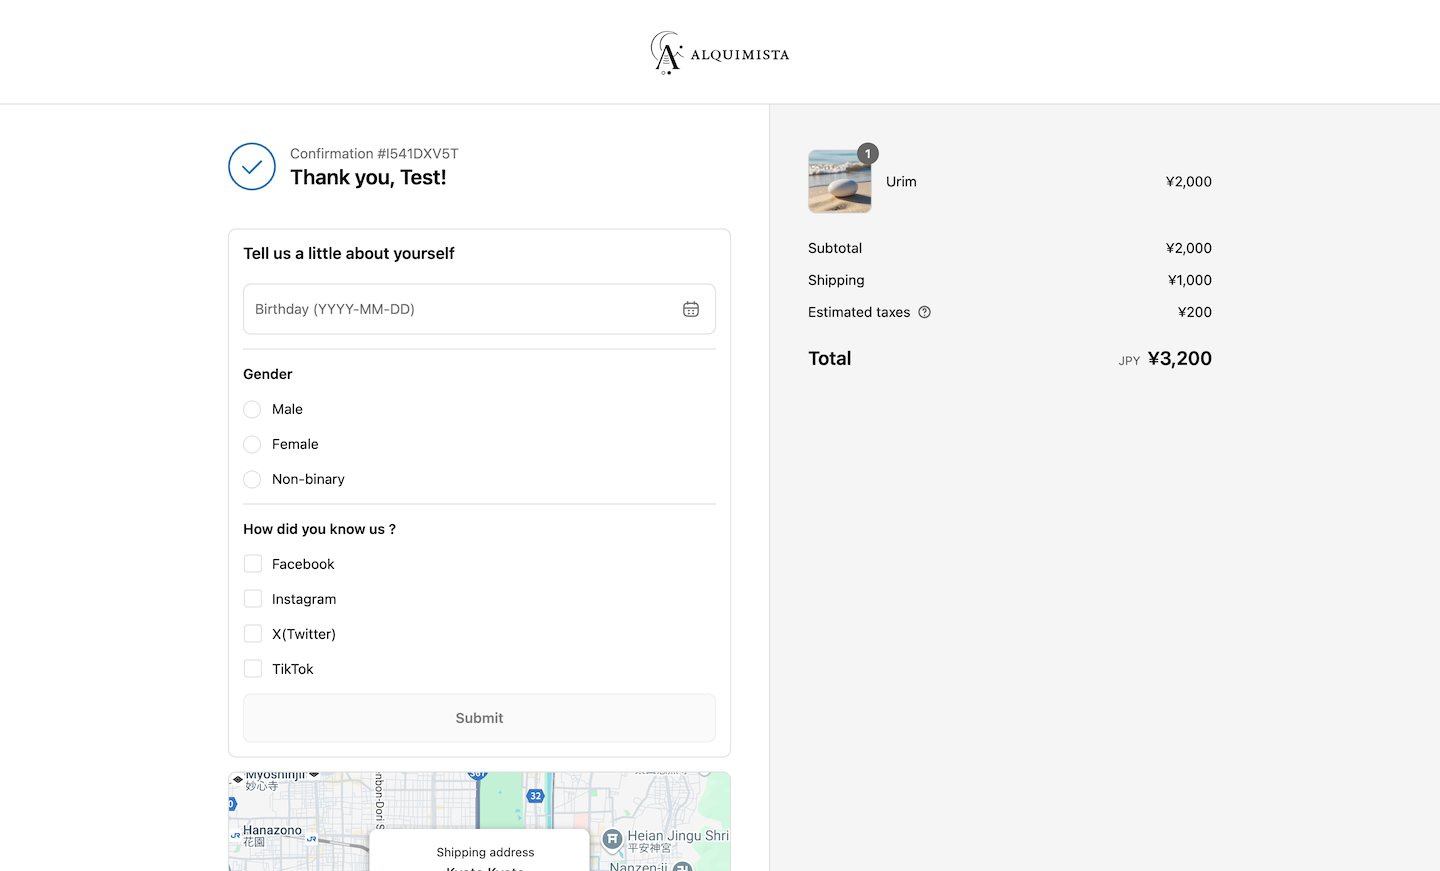
To verify actual behavior, please place a test order.
For tips on how to reliably test the Thank You Page, refer to our FAQ.
Step 2: Review the Thank you Page Behavior
You can configure conditional visibility of the form based on customer tags, metafield values and order items.
For more information, see Form Configuration Details.
If a metafield already has a saved value (i.e., the customer has previously answered that question), that field will not be shown again in the form.
Once the form is submitted, it can trigger Shopify Flow workflows.
This allows you to automate actions or integrate with external systems based on the newly submitted metafield data.